You can print membership cards from both the Members module and the Events module, so both of those sections link here for instructions.
Once you've picked the Membership Cards option, you'll get a dialog box like this:
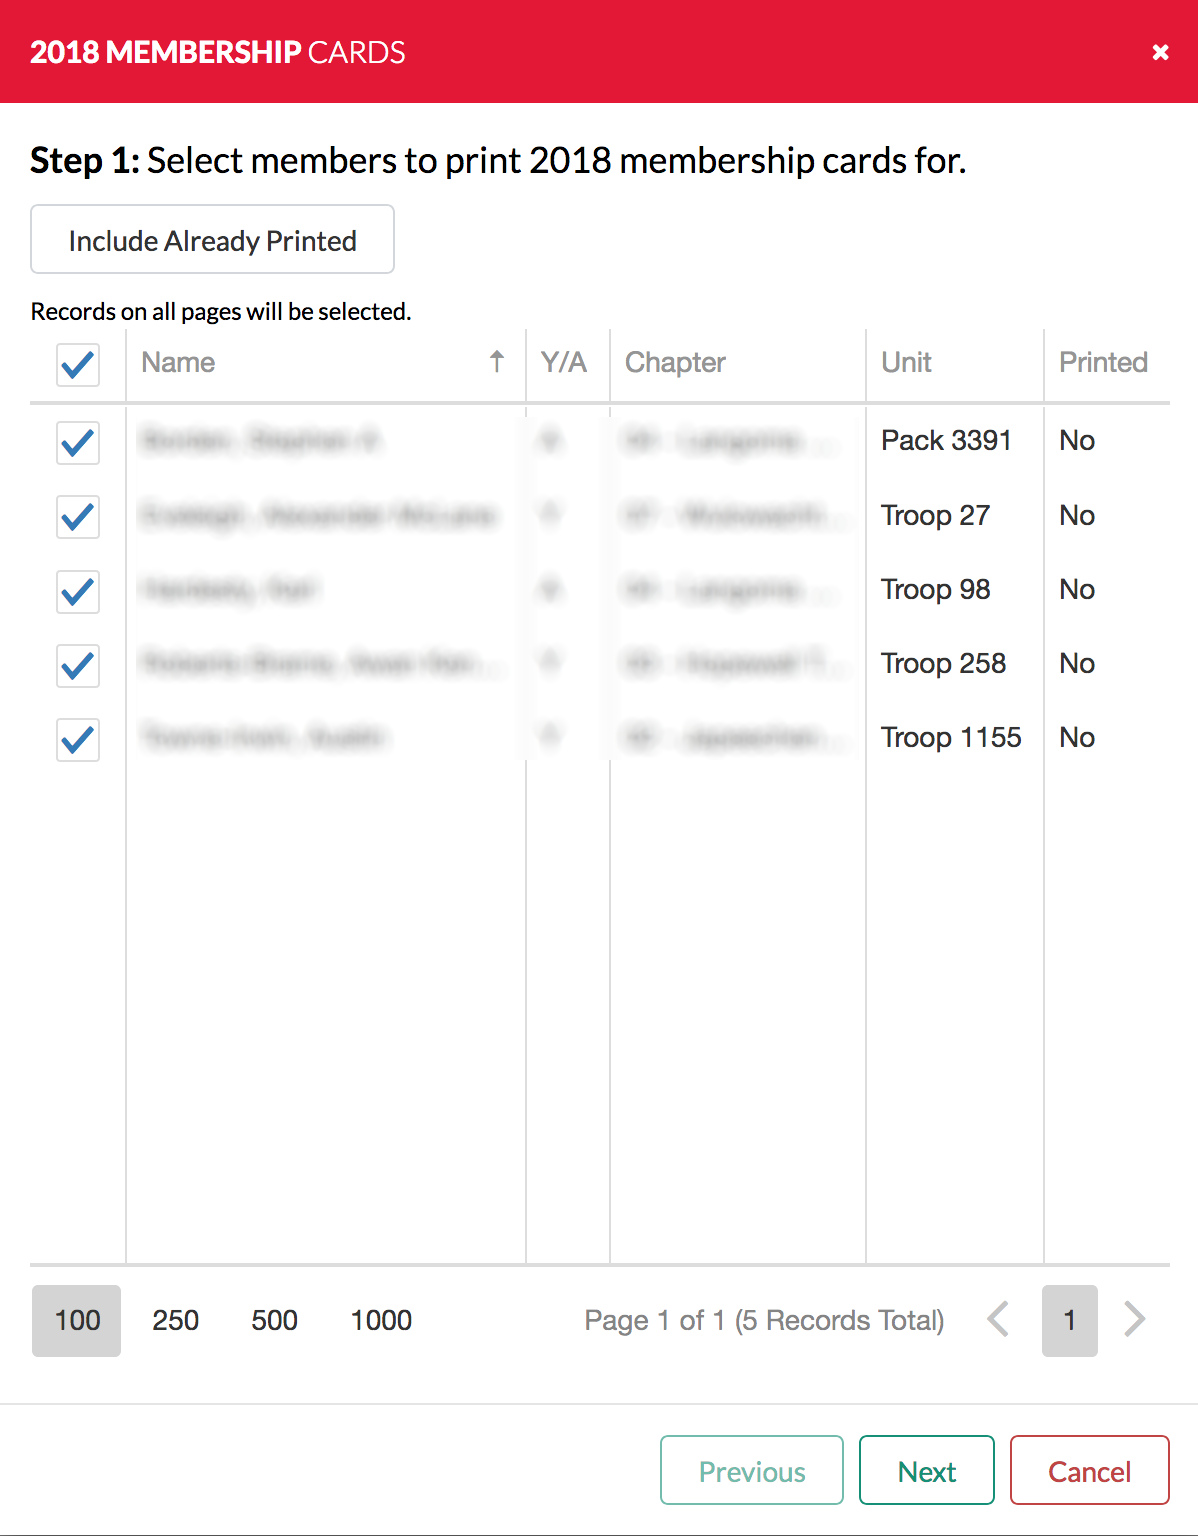
This first screen is to choose specifically who you want to print cards for. By default, it will list anyone in the current grid who both has their dues paid, and has not previously had a card printed for the dues year you've selected.
If you click on the "Include Already Printed" button, it will load into the list everyone else in the grid who has their dues paid, whether they've already been printed or not.
You can uncheck the boxes for anyone you don't want to print yet (for example, if you're trying to avoid having partial pages with leftover blank cards, unselect enough people to have an even multiple of 10 people selected, though if you do this for that reason regularly you'll want to have some process in place to make sure they don't get left out forever).
When you're satisfied with whose cards will be printed, click on Next. Click Cancel if you've decided against printing any.
After clicking Next, you'll get this dialog:
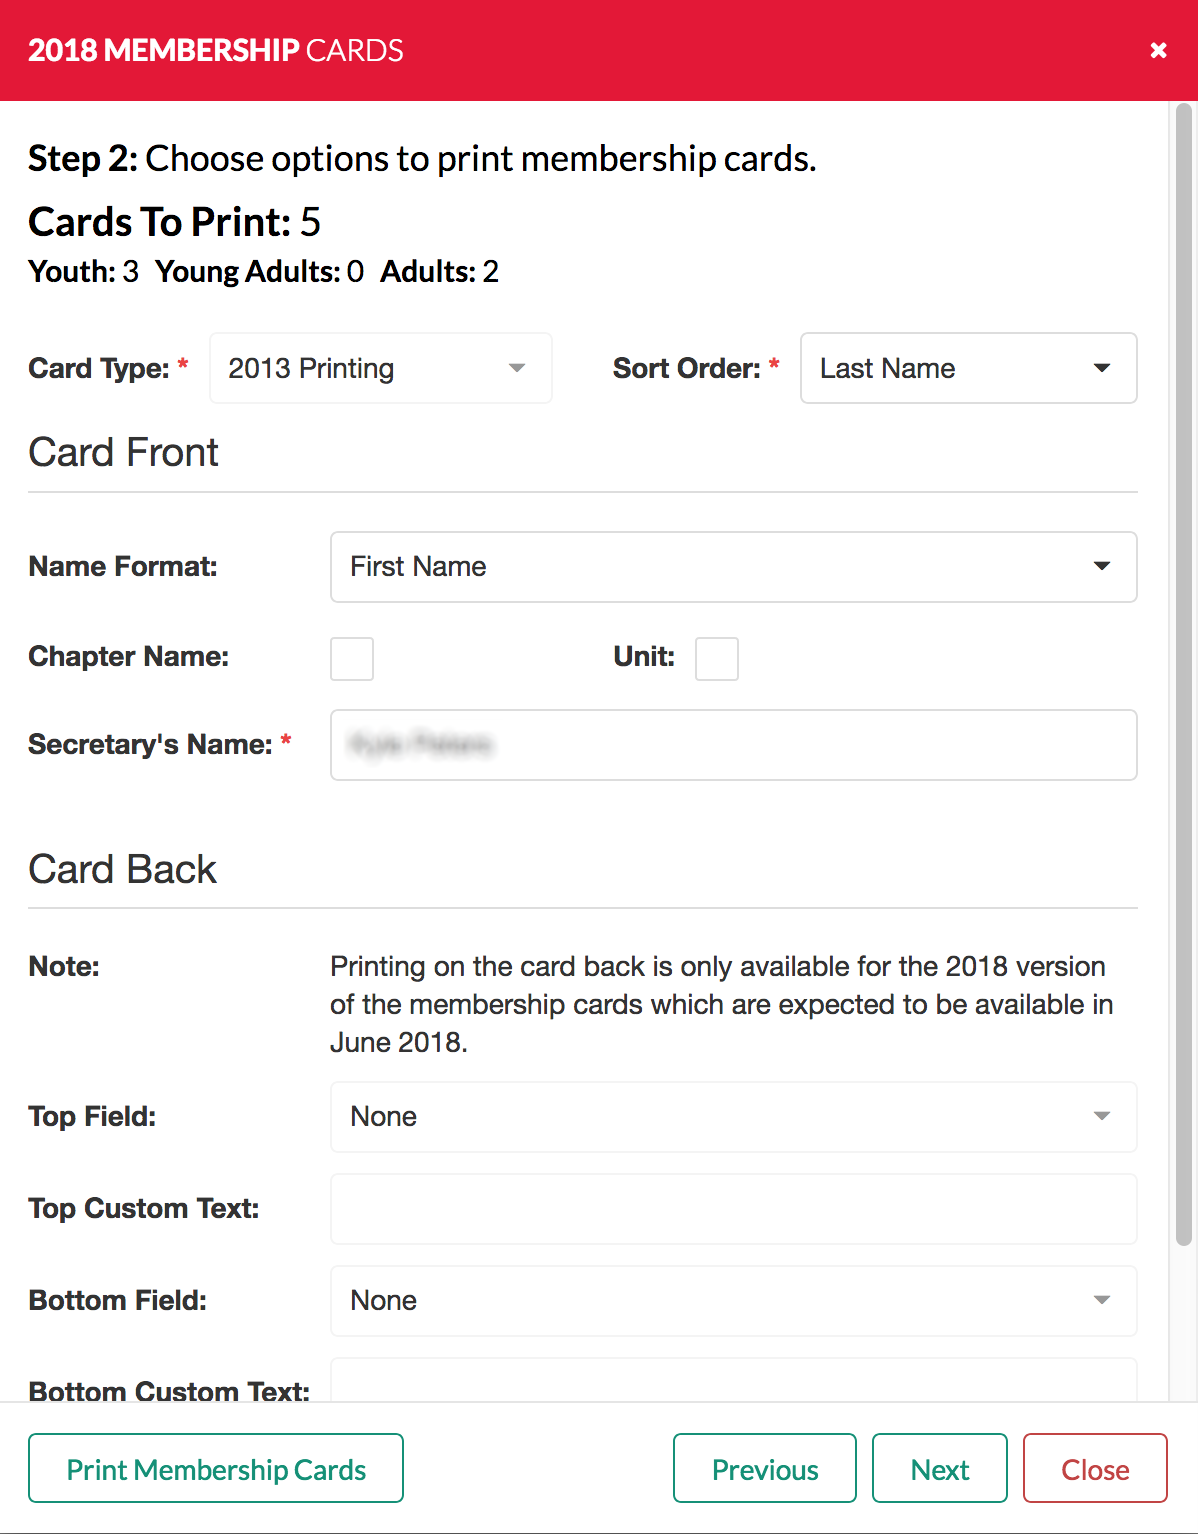
If you got here too quick and need to pick who gets cards again, hit Previous at the bottom.
Currently the only option for Card Type is "2013 Printing". An option for "2018 Printing" is coming soon, to accomodate the new card stock.
Choose your sort order (the order the cards will be printed in). The options are "Last Name", "Chapter", "Unit", and "Zip Code".
If you plan to use Unit sort order and have multiple units with the same number in your lodge, you may want to pin the grid to a specific chapter or district prior to choosing the option for Membership Cards, and print one chapter or district at a time so you can keep them separate.
The options for Name Format are "FIrst Name" and "Nickname". If you choose Nickname and no Nickname is available on a given member, First Name will be used for that member anyway.
If you check either of the boxes for Chapter Name or Unit, those items will be printed on the card.
The default value for the Secretary's Name is filled from your Lodge Settings. If you need to change this when printing, you can change it here.
The items in the Card Back section are currently only placeholders and don't actually do anything. Those will become available when the 2018 Printing format is available, as only that format can currently support them.
When you are ready to print, click the "Print Membership Cards" button. The cards will open in the document preview window. See Viewing, Printing, and Saving Documents for where to go from here. Pay particular attention to the note about scaling at the bottom of that page.
After you've printed, if you want mailing labels (or an exported list of whose cards got printed, click Next. If you don't want labels, just hit Close.
If you clicked Close, you'll get prompted if you want to mark those members as Card Printed. If you do, choose Yes. If something went wrong while printing, or if you didn't get that card and need to try again later, hit No.
If you clicked Next, you'll get the mailing labels dialog:
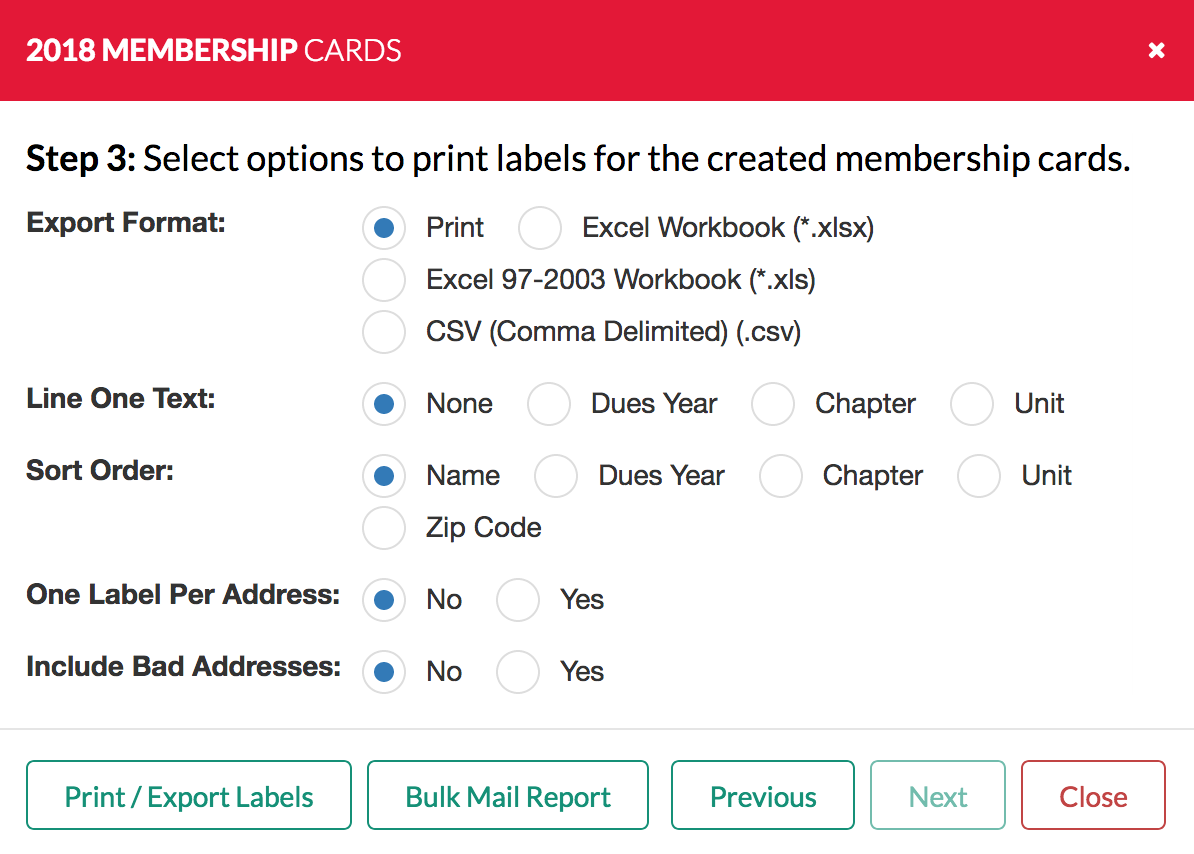
If you want to go back to the Membership Cards screen from here, you can hit Previous at the bottom.
Choose your export format. If you plan to save as a PDF, choose Print. You'll get the option to save from the document preview window.
Line One Text lets you optionally choose one of those items to put above the member's name on the mailing lable.
Sort Order is what order to print them in.
If you choose Yes for One Label Per Address, LodgeMaster will attempt to combine members who have the same address. Only the first matching member's name will be included on the label.
If you choose Yes for Include Bad Addresses, members whose address has been marked as bounced or no contact will still be included. You usually don't want to do this, but it's there if you really do.
When you're ready to print, click the Print/Export Labels button. See Viewing, Printing, and Saving Documents for where to go from here. Pay particular attention to the note about scaling at the bottom of that page as the text will not line up properly on the cards if you don't have that correct.
If you have a bulk mail permit with the Post Office, you can click the Bulk Mail Report button to get the report of how many envelopes are going to each zip code. As above, see Viewing, Printing, and Saving Documents once you hit that button.
When you're done, click Close. You'll get prompted if you want to mark those members as Card Printed. If you do, choose Yes. If something went wrong while printing, or if you didn't get that card and need to try again later, hit No.